A complete step-by-step guide to start using Booking Kiosk Pro
To start configuring your software you need to follow these simple steps:
Step 1: Register an account
- Register for a user account at https://www.roomdisplaycenter.com
- Select “Booking Kiosk Pro” in the Get Started Guide
- Activate licenses
- (New Users) Press “Redeem this Voucher” to activate one full 14-day trial license key
- (Existing Users) Go to “License Voucher -> Redeem Voucher” and enter your voucher key number to activate licenses
- You will now receive units under “Units -> Booking Kiosk Pro”
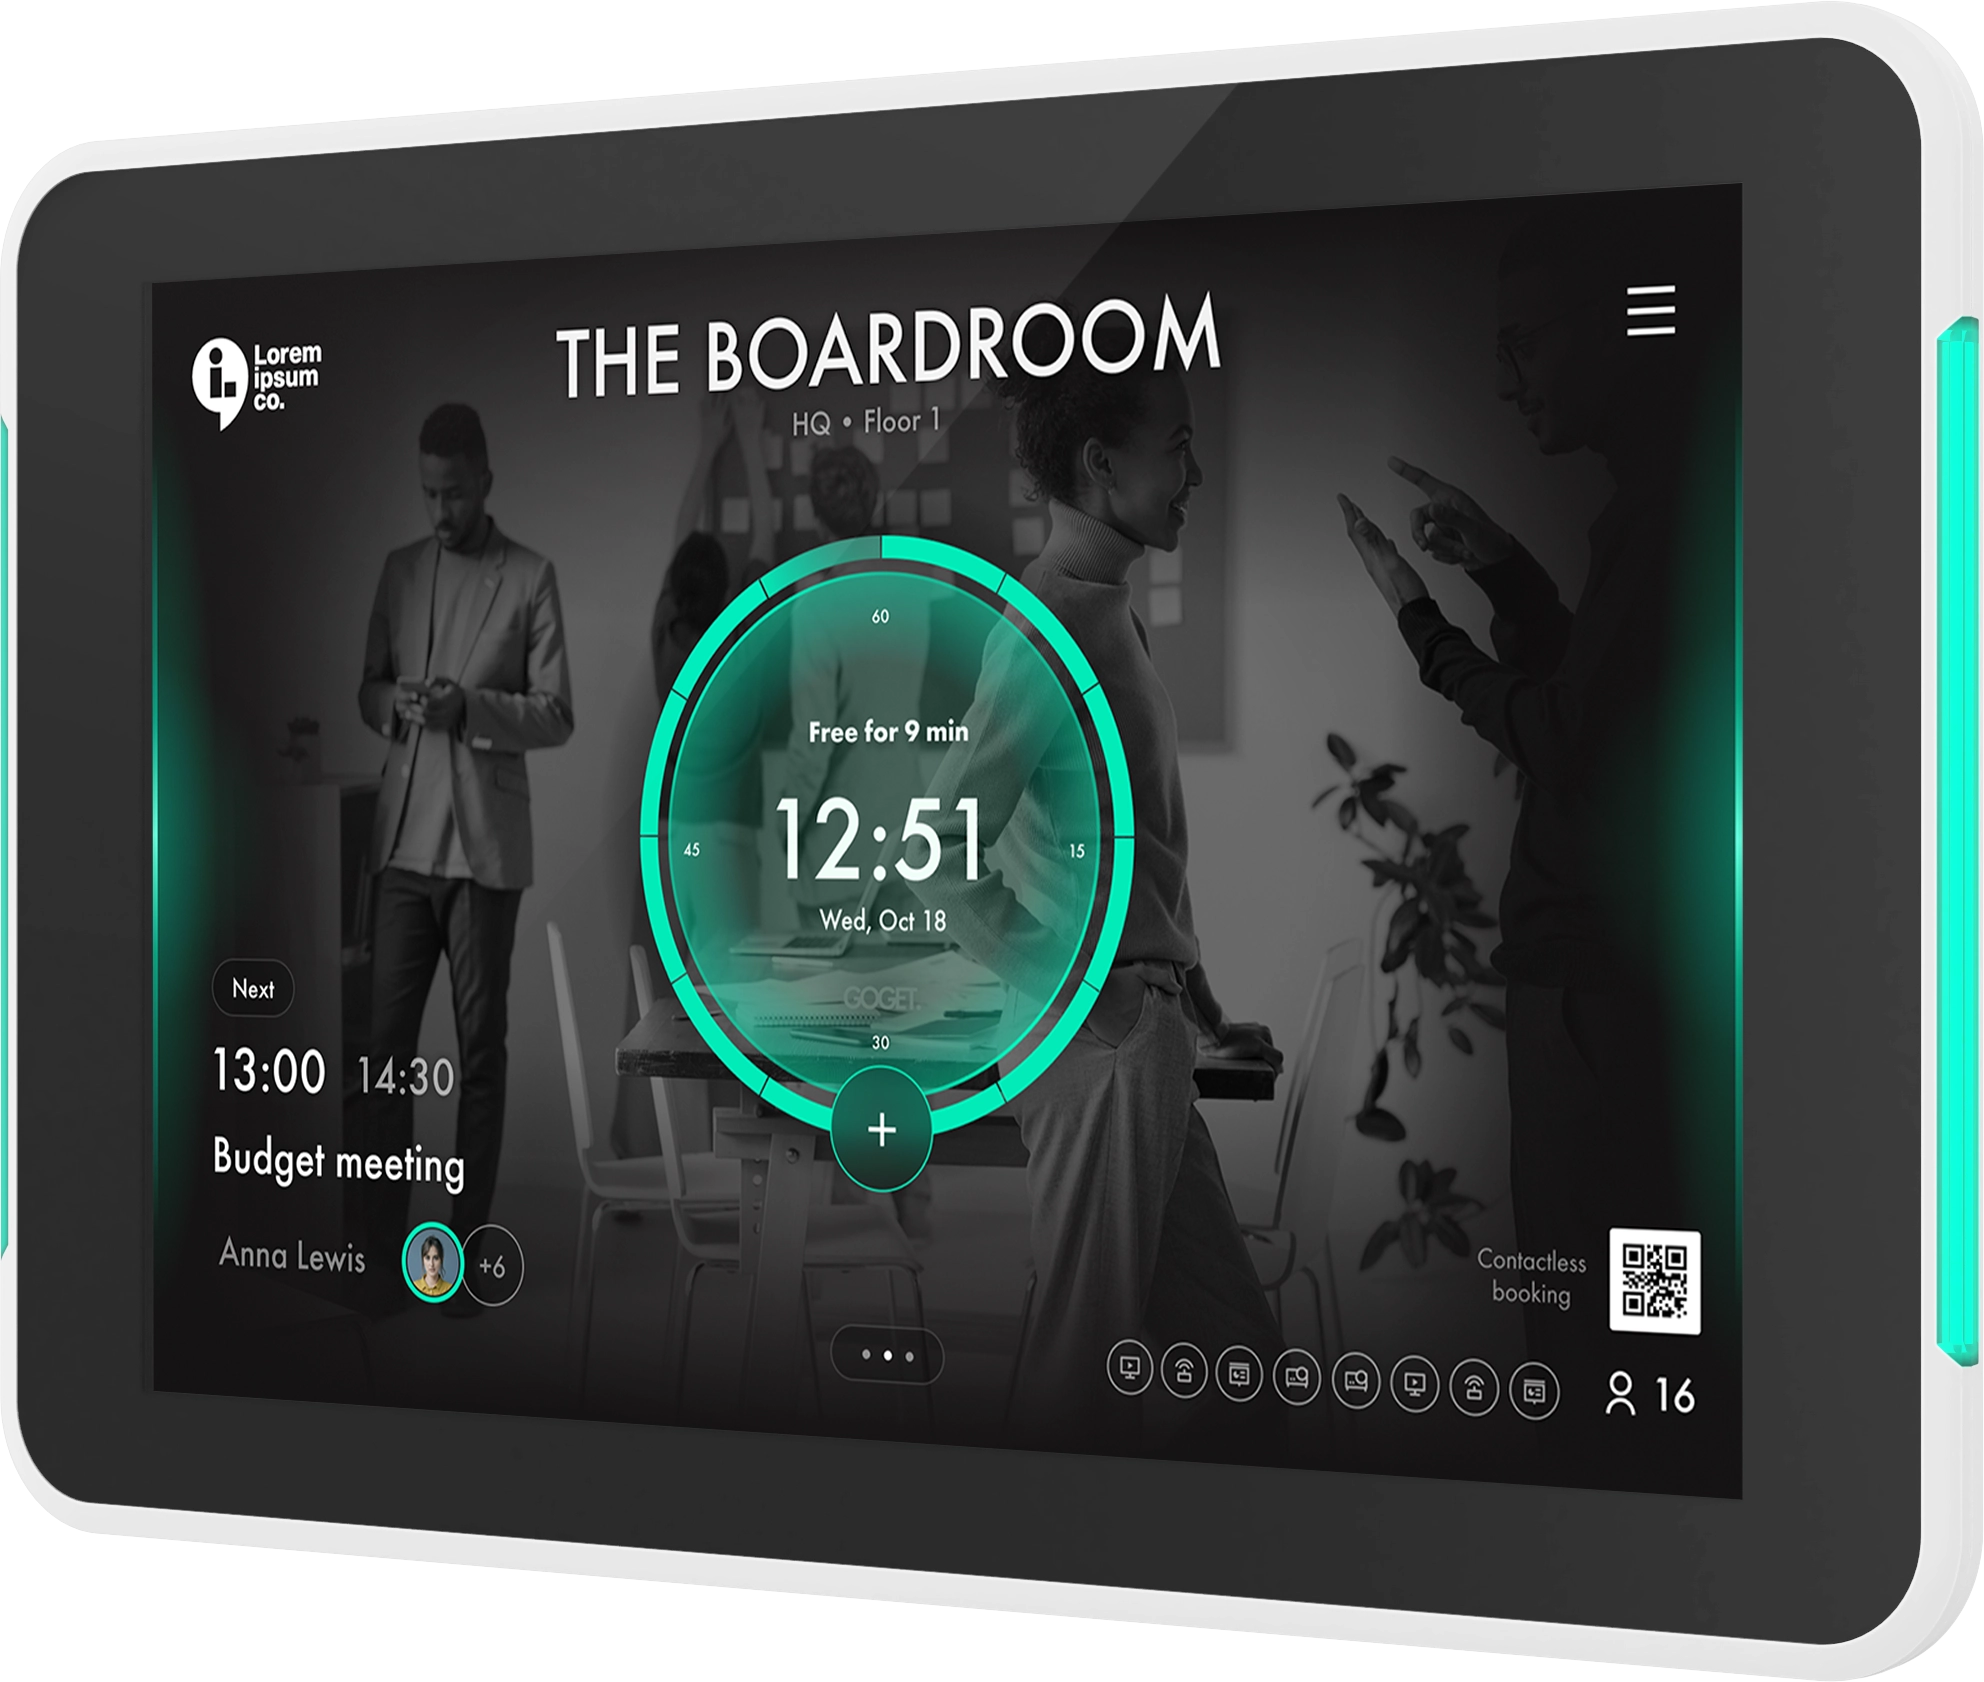
Step 2: Configure units
- Click the cogwheel symbol for the unit to start configuring it.
- Follow the guide. Note that for all settings there is a question mark symbol with further information.
- Change the “Display Name” field. Often it is recommended to use the company name
- Bookable rooms are added under “Rooms Nearby”. Note that you need licenses for each bookable room.
- Continue configuring the various options. If you need further information, press the question mark symbol next to each option. When you are finished press “Save”
Step 3: Download app & connect devices
- Download Booking Kiosk Pro software either from Google Play or directly to your device.
For Room Finder: https://www.roomdisplaycenter.com/download/BookingKioskPro.apk - Start the application, pair device by using your Room Display Center account details
- Select your unit (name of the Booking Kiosk Pro) from the list
- Settings will now be downloaded to the unit and you are all set up!
Troubleshooting:
If you experience problems during the setup, see the points below or go to our FAQ: https://gogetcorp.com/support/#FAQ
- I cannot login with my Roomdisplaycenter account in the app
- Check that you are using the correct user name and password. Double check by logging in to https://www.roomdisplaycenter.com.
- Verify that your tablet has access to internet (open a page in the browser) and that the correct communication ports are open in the firewall. See: FAQ -> Booking Kiosk Pro -> Firewall ports
- I cannot access the settings menu in Booking Kiosk Pro app
- Tap the cogwheel icon in the bottom right corner of the display to reach the settings menu.
- I cannot see any meeting rooms on the display
- Meeting rooms needs to be added individually. Go to: Units -> Booking Kiosk Pro and press the cogwheel symbol for the unit you wish to add rooms to. Thereafter select rooms under “Other Rooms” in the configuration guide.